Miro Tips
Today, I presented at Miro Heroes Canvas Conversation—to a virtual room with Miro Hero advocates from around the world.
And honestly? I was nervous. These are the folks who push Miro to its creative limits. Meanwhile, my boards? They're simple. Functional. Built with basic tools and sticky notes. But I showed them anyway—because what I bring isn’t graphic design magic. It’s facilitation that works: clear, engaging, and inclusive, even with big groups.
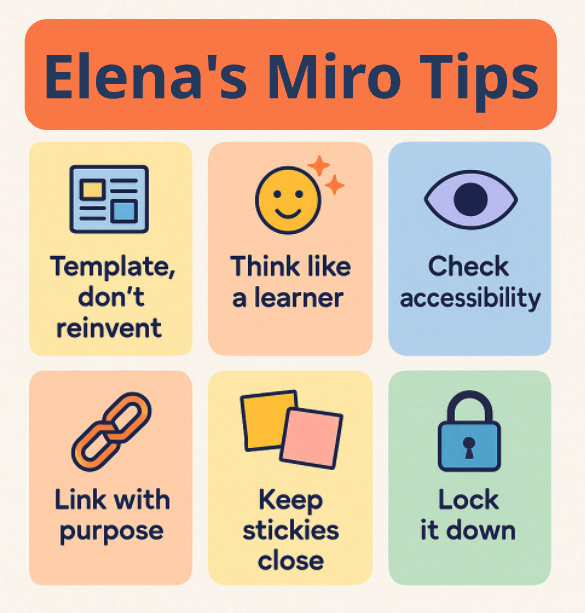
I shared six of my favorite low-effort, high-impact tips:
🧩 Template, don’t reinvent
· Search Miro and the Miroverse for templates instead of starting from scratch
· Or even ask ChatGPT for ideas on how to format
🧠 Think like a learner
· Provide multiple ways for participants to learn and intake information, write instructions, and use Talk Tracks for video walk-throughs
👁️ Check accessibility
· Use Miro’s Accessibility Checker to ensure your board is accessible – it highlights what areas have issues and what the issue is (e.g., low contrast)
🔗 Link with purpose
· Share links to specific areas in the boards and set start views to make navigation easy
📌 Keep stickies close
· Put sticky stacks right where they’ll be used so participants can quickly participate without needing to copy/paste or remember where to click on the nav bar
🔒 Lock it down
· Lock all the board elements before starting! We’ve all had the moment when someone accidentally deletes something they weren’t supposed to!
These aren’t flashy tricks—but they make sessions flow better, reduce stress, and help everyone feel included.
✨ Feeling proud I had the confidence to share my work. Because facilitation isn’t about how your board looks—it’s about how it works.
Got your own Miro tips or facilitation tricks? I’d love to hear them below or on my LinkedIn post